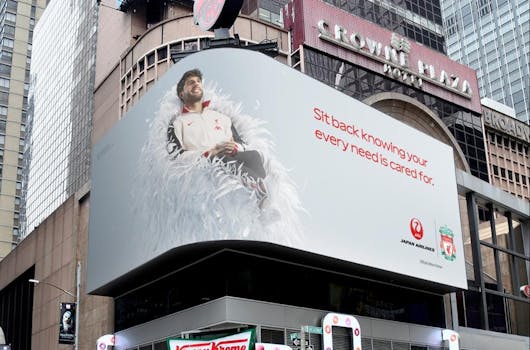
The above image is nothing out of the ordinary for a website – a single 1024 x 683 pixel image resized in a JPEG (.jpg) format. Its file size however, is rather large at 688KB.
This is larger than Google’s recommended 500KB total page size so let’s look at how we can optimize this image for your website. The same optimization methods can and should be used for all your images.
Choosing image formats for file size
Selecting the correct image format is crucial. Ultimately, it depends on what you are trying to achieve. For example, as we learned above, if you need an image to have a transparent background, you can use a PNG or GIF file format. JPEG images won’t work.
However, if you are wanting to serve fine detail with the highest resolution with more than 256+ colours, then PNG-24 is the way to go. Less than 256 colours and you can use PNG-8 format.
If you wanted to compress an image to get the maximum loss in filesize but maintain the quality, then JPEG would be the best option. JPEG image compression uses a combination of lossy and lossless optimization to reduce filesize.
Lossy
Lossy compression will reduce on average about 60% file loss. Sometimes, even as much as 80% can be saved on your original image. However, image quality degradation does occur. For the best results, you may have to optimize an image on an individual basis to get the best file size loss vs quality.
Lossless
Lossless will typically save around 10% of a file save as it does not alter any pixels within the image. This method should be used if you want to retain the original quality of your image.
Online image compression
We grabbed our test JPEG image of 1024 x 683 pixels at 688KB and ran it through some online image optimization tests to see how they compared.
It’s worth noting that we used the lossy compression method – and whilst some of the websites had the option to change the quality or the amount of compression, we typically used the default settings.
The results below show the file size, the size in loss and then the download speeds under 3G connection speeds. Don’t forget this is how Google indexes your website now, using 3G speeds, so optimizing your images is vital.

* We tested load speeds using Google Chrome’s Developer Tools, disabling the cache and enabling Network Throttling. Developer Tools 3G load times emulate real conditions of what a slow and fast 3G network connection actually feels like and is benchmarked against other industry standard testing tools.
You can see from the above table that you can save a considerable amount of file size by simply uploading and downloading your image instantly with very little effort.
It’s also quite daunting to see the load times on a single image bases.
You can take it one step further by experimenting with the level of compression when optimizing your desired image. But as mentioned above, this should be done on a trial and error basis while deciding just how much compression vs quality should form the final image.
We hope this guide has given you some insight into using imagery on the web. Good luck with your next creative project.
Sources
machmetrics.com/speed-blog/average-page-load-times-websites-2018
thinkwithgoogle.com/intl/en-gb/consumer-insights/mobile-page-speed-website-load-time
uxmatters.com/mt/archives/2012/03/mobile-first-what-does-it-mean
developers.google.com/web/fundamentals/performance/why-performance-matters